Search
Adding Custom Fonts
Framer offers a range of built-in web fonts. You can also select fonts from Google and Fontshare directly within the picker. If you need a typeface not supported by Framer, you can upload your own custom fonts.
Upload and use your own custom font
Upload and use your own custom font in your project by following these steps:
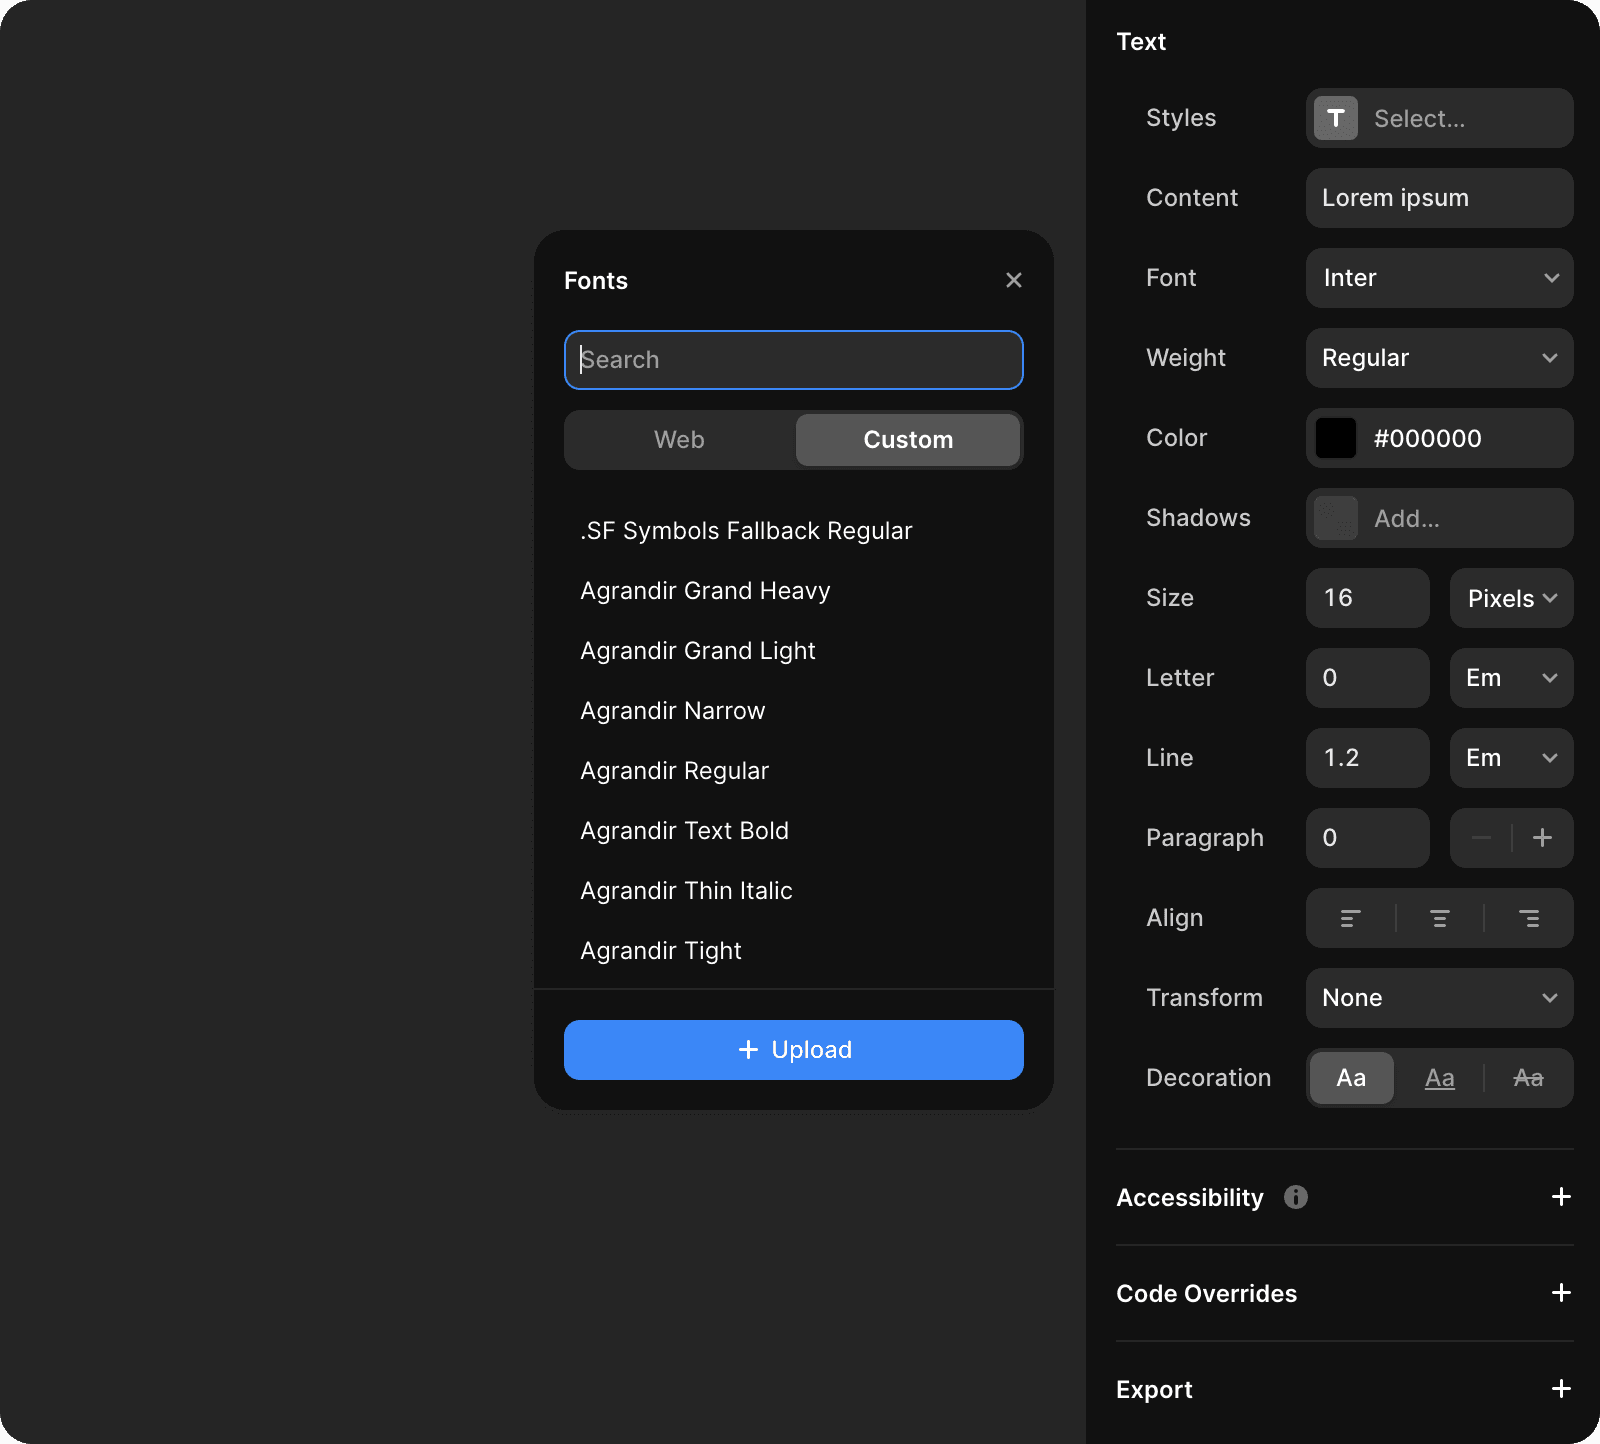
Insert text into your project.
In the properties panel on the right, select the font from the picker.
Navigate to the Custom tab.
Click the Upload button.
Upload the font file from your computer.
The font is now available in the Custom tab.
Select a custom font from the Custom tab to use as the typeface for any text layer in your project.
Importing fonts from Figma
Custom fonts from imported Figma projects may revert to the default font in Framer. This occurs because the custom font from the original project is not available in Framer. To resolve this, upload the custom font to your imported project. Then, select the text layers and manually change the font to the newly uploaded custom font.
Note: Ensure you own the appropriate font license for your site to avoid issues. For optimal performance, use the .woff2 font format, which is optimized for size and helps your site load faster.