How to connect Google Search Console to your Framer site
Google Search Console (GSC) is a powerful tool that provides insights into how Google views your website and how it performs in search results. By connecting your Framer site with Google Search Console, you can monitor and maintain your site’s presence in Google Search results. This guide will walk you through the process step-by-step.
Step 1: Adding a Property
Firstly, we need to visit Google Search Console. Upon visiting, we’ll be greeted with two different options: 'Domain' or 'URL Prefix' - there are a few significant differences between the two.
Domain Property in Google Search Console: A domain property covers all URLs across all subdomains and all URLs across HTTP or HTTPS. This supports only DNS verification.
URL Prefix Property in Google Search Console: A URL Prefix covers only URLs under the entered address and only URLs under the specified protocol. However, this offers multiple verification methods.
As the URL prefix one is the easiest to set up, in this guide we’ll use that method. Using the Domain verification will have a very similar output, but it can be harder to set up.
We need to select the URL input, enter our website’s address along with https://.This will look something like https://www.example.com, and then press continue.
Step 2: Verifying the Ownership of Your Site
Since we have selected the URL Prefix option, we now have multiple verification methods to choose from. This consists of uploading an HTML file to your website, adding a meta tag to your site’s homepage, using a Google Analytics account, using Google Tag Manager, or associating a DNS record with Google.
It is important to note that you can’t upload an HTML file to a Framer website, so we’ll choose the 'Adding a Meta Tag to Your Site’s Homepage' option.
Firstly, we need to copy the unique meta tag that Google has generated for us.
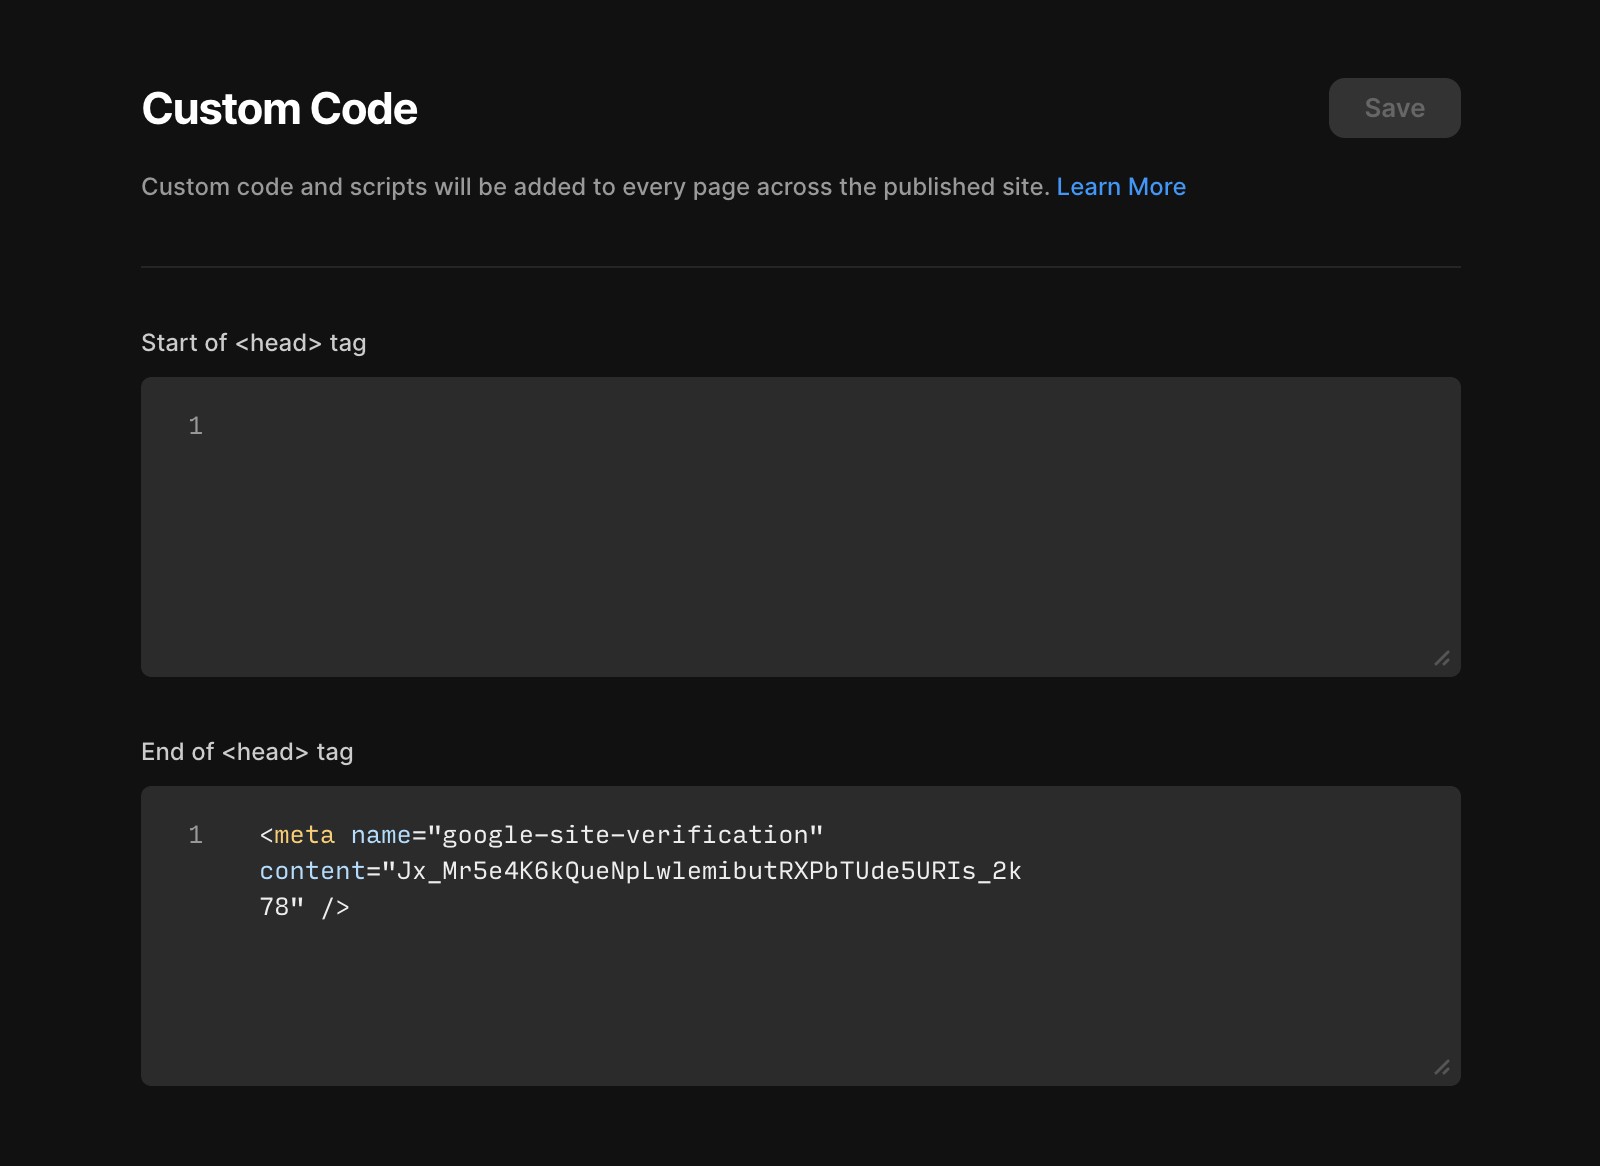
Secondly, we need to navigate to our Framer website’s General Settings, scroll down to the end of the <head> tag, paste in the meta tag, press save, and then re-publish our website.
From there, we can navigate back to Google Search Console and press verify. Ensure to be patient as this can take a few minutes to complete.
Step 3: Confirming Verification
After completing one of the verification methods, Google will check to ensure everything is aligned correctly. Once verified, you will have access to your site’s data in Google Search Console.
Bonus Tip: Submitting Your Sitemap
To help Google crawl your Framer site more effectively, you can submit your sitemap to Google Search Console.
Framer automatically generates an XML sitemap. To locate this, you just need to add ‘/sitemap.xml’ to the end of your website’s homepage URL. For example, https://www.example.com/sitemap.xml.
To submit your sitemap, navigate to the Sitemaps section within the left-hand sidebar of your Google Search Console’s dashboard, enter sitemap.xml in the input, and press submit. Please note, this can take a few minutes.
Conclusion
Connecting Google Search Console to your Framer site is a straightforward but essential process. It provides significant benefits in terms of understanding and improving your site’s presence on Google. By following the steps outlined in this guide, you can ensure that your site is properly indexed on Google and gain insights on how it is performing.
FAQ
How do I connect my Framer site to Google Search Console?
To connect your Framer site to Google Search Console, first visit Google Search Console and choose the 'URL Prefix' option. Enter your website’s address with 'https://', then press continue. For verification, select 'Add a Meta Tag to Your Site’s Homepage' since uploading an HTML file is not possible with Framer. Copy the unique meta tag provided by Google, go to your Framer website’s General Settings, scroll to the end of the <head> tag, paste the meta tag, save, and re-publish your website. Finally, return to Google Search Console and press verify. Verification may take a few minutes.
What is the best way to verify my Framer site in Google Search Console?
The recommended method for verifying your Framer site is by adding a meta tag to your site’s homepage. After selecting the URL Prefix property in Google Search Console, copy the generated meta tag, navigate to your Framer site’s General Settings, paste the tag at the end of the <head> section, save, and re-publish your site. Then, click verify in Google Search Console.
How can I submit my Framer site's sitemap to Google Search Console?
Framer automatically generates an XML sitemap for your site. To submit it, add '/sitemap.xml' to the end of your homepage URL (e.g., https://www.example.com/sitemap.xml). In Google Search Console, go to the Sitemaps section in the left-hand sidebar, enter 'sitemap.xml' in the input, and press submit. This process may take a few minutes.
Updated