Publishing your Framer website
Publishing your website with Framer is quick and simple, requiring just a few steps.
How to publish
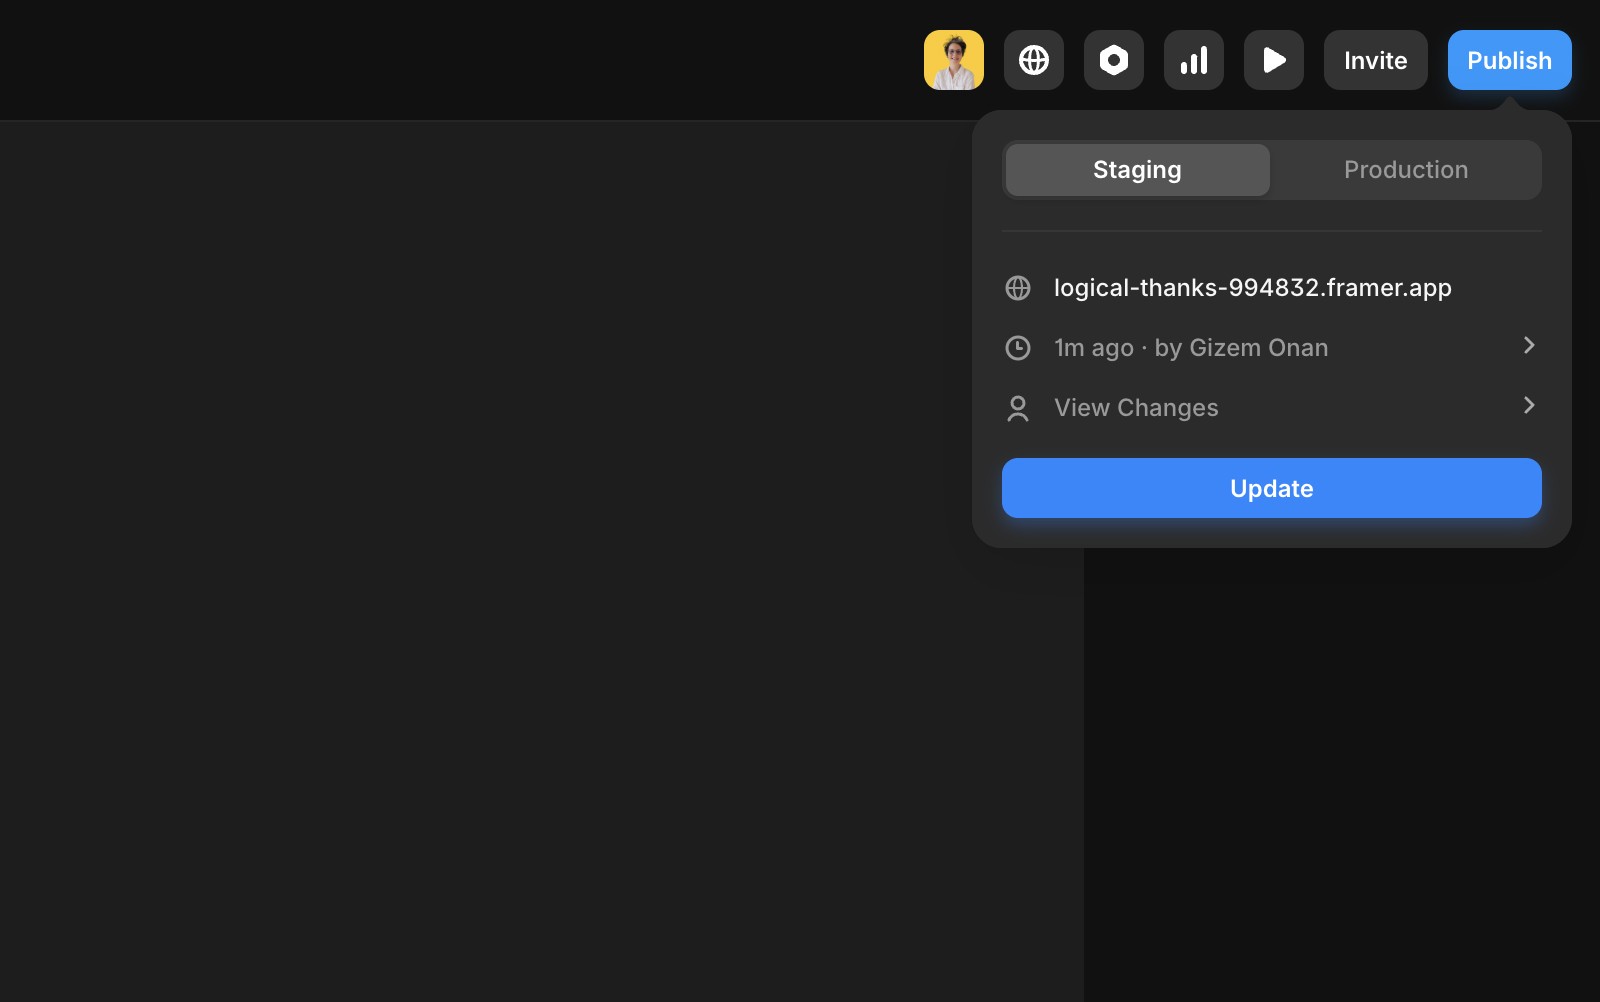
Click the “Publish” button in the top right corner of the Framer editor.
Your site will automatically generate a framer.app domain.
If you prefer a custom domain, follow this guide to connect it.
Staging & production
For sites on a Business or Enterprise plan with staging enabled:
Go to the “Staging” tab in the editor to publish your changes to a staging environment.
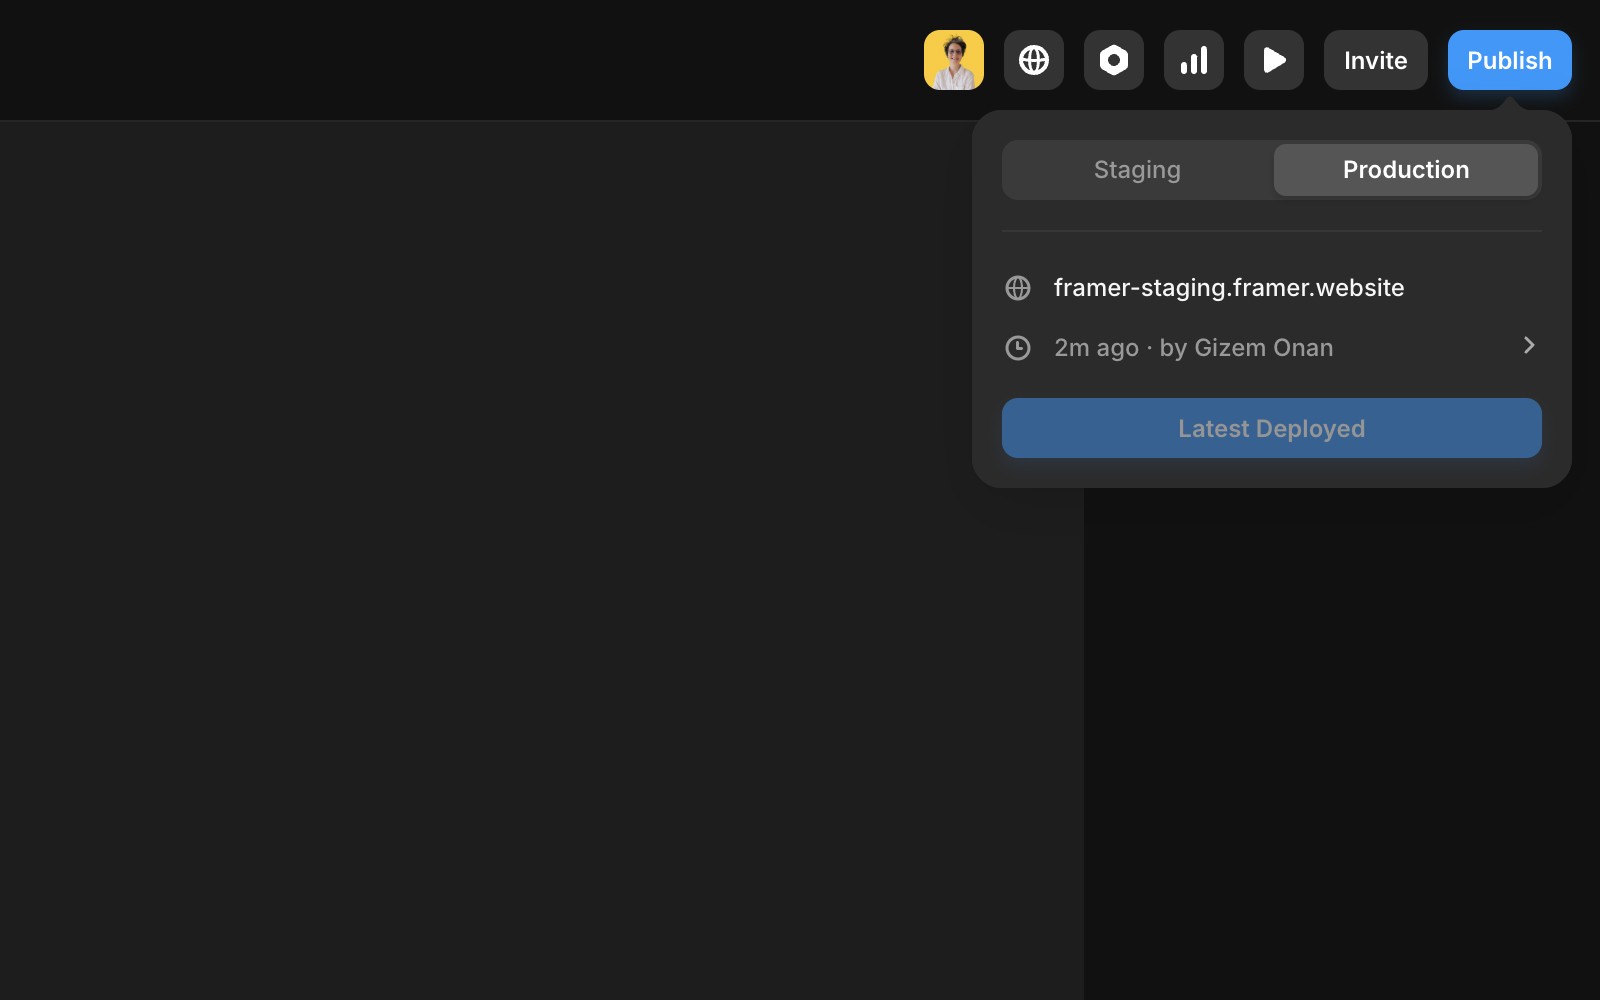
Once ready to go live, switch to the “Production” tab and press “Deploy Latest” to publish directly without accessing Settings.
Review Changes
Before publishing, review your project modifications:
Click “View Changes” to see a list of edits and the profile image of the user who made them.
This step ensures you’re aware of all changes before your site goes live.
Site optimization
An optimized site ensures smooth performance. Look for the “Optimized” text:
Blue or purple: Your site is fully optimized.
Red: Adjustments are needed.
Click the red text to navigate to the problematic section, such as:
For complex issues, feel free to share a screenshot in our contact page.