Enable spam protection
Learn how to enable spam protection, choose between Basic and Advanced protection, and decide whether suspicious submissions should be blocked or passed through.
Spam protection helps reduce unwanted and harmful form submissions, such as promotional messages, bot activity, and phishing attempts, before they reach your inbox or other destinations.
Enable spam protection
Spam protection is configured in your form settings.
To enable spam protection:
Select the Form layer on the canvas.
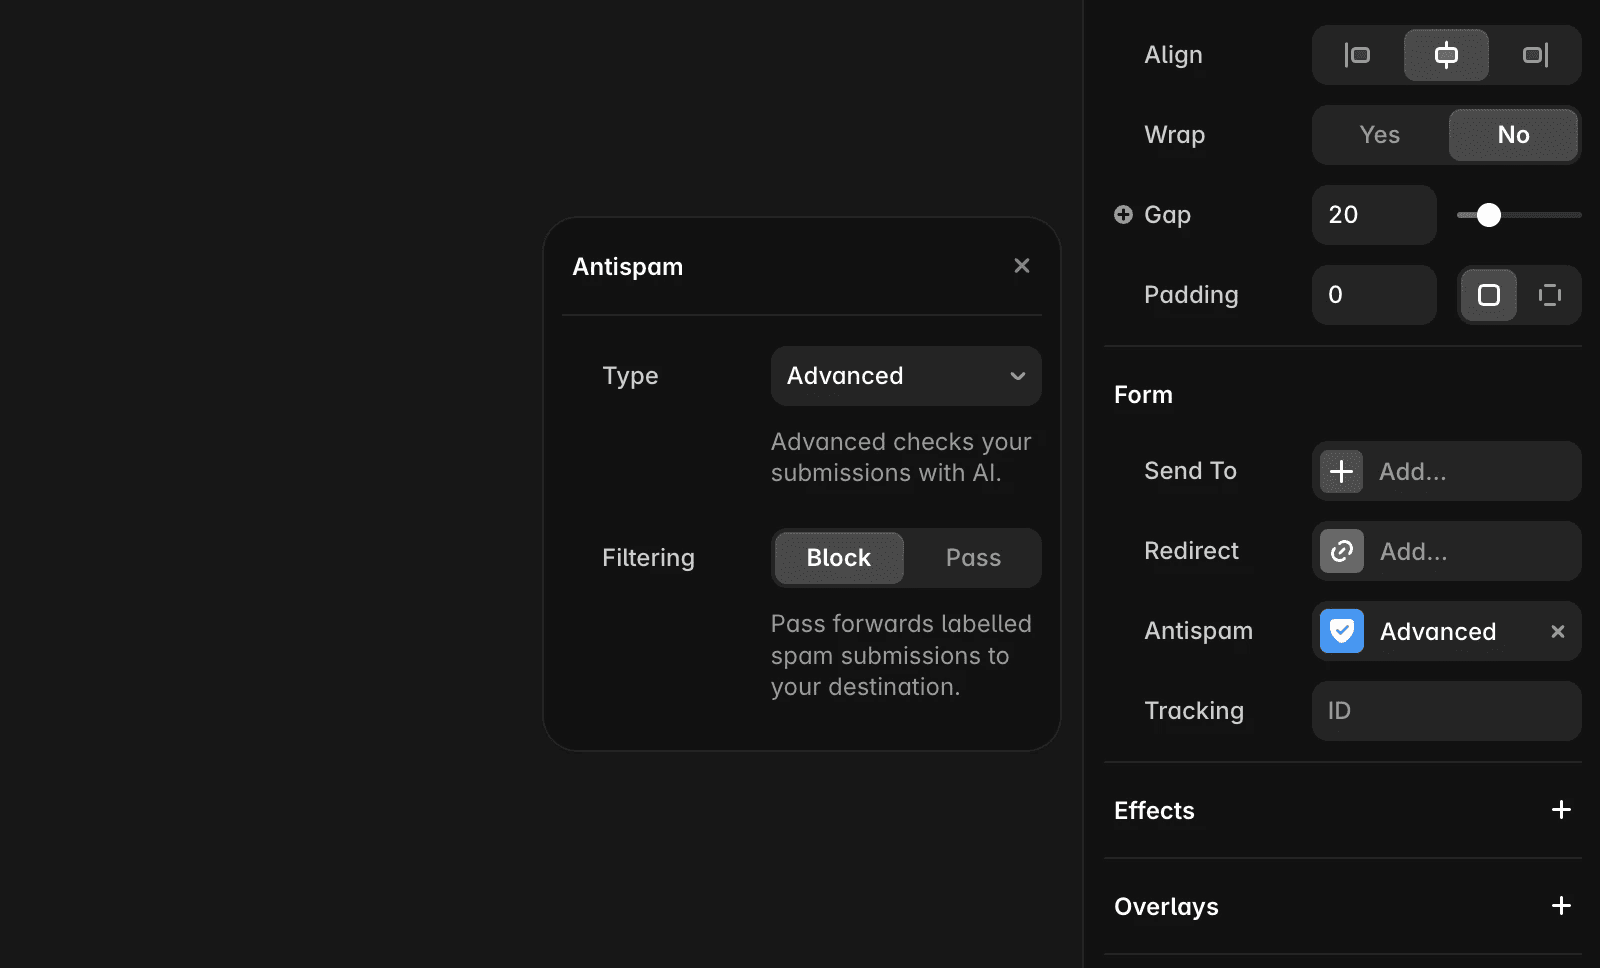
In the right sidebar, open Antispam.
Choose a Type:
Basic
Advanced
Choose a Filtering option:
Pass
Block
Publish your site.
Your changes apply only to new form submissions received after the site is published.
Choose a spam protection type
Framer offers two levels of spam protection.
Type | Description |
|---|---|
Basic | Enabled by default for all sites. Uses fast and reliable checks to identify common spam patterns. |
Advanced | Adds an additional AI-powered layer to detect more subtle or evolving spam. Available on Pro plans and above. |
Choose Basic if you want effective protection with no additional setup.
Choose Advanced if you need stronger protection against sophisticated spam attempts.
Choose how filtering works
After selecting a spam protection type, choose how Framer should handle suspicious submissions.
Pass
When filtering is set to Pass, all submissions are delivered, including those identified as potentially suspicious.
Use Pass if you prefer to review submissions manually and want to minimize the chance of missing legitimate messages.
Block
When filtering is set to Block, submissions identified as spam are prevented from being delivered to your configured destinations.
Use Block if you want the strongest protection and fewer unwanted messages.
How Pass filtering works across destinations
When filtering is set to Pass, submissions continue to be delivered, but Framer adds spam indicators so you can review them.
Flagged submissions include spam indicators in the email:
A subject line marker, such as [Spam] or [Possible Spam]
A Note field in the email body with additional spam information
Google Sheets
Framer adds additional columns to each submission, including:
Framer Spam Detected with a value of:
possiblelikely
This makes it easy to filter and review suspicious submissions directly in your spreadsheet.
Webhooks
Framer includes additional headers with flagged submissions:
X-Framer-Spam-Protection: markedX-Framer-Spam-Classification: possible_spamorlikely_spam
You can use these headers to build custom spam-handling workflows in your webhook endpoint.
FAQ
Does enabling spam protection affect existing submissions?
No. Spam protection settings only apply to new submissions received after you publish your site.
Can I use Advanced spam protection on any plan?
No. Advanced spam protection is available on Pro plans and above.
What happens if a legitimate submission is flagged as spam?
If filtering is set to Pass, the submission is still delivered and marked as suspicious. If filtering is set to Block, the submission is not delivered.
Updated
