Hosting with Amazon CloudFront
CloudFront is Amazon’s content delivery network (CDN). Framer utilizes CloudFront as its default CDN for assets. You only require to set up your own CloudFront when you need greater control over your hosting.


FAQ
How do I set up my Framer site to work with Amazon CloudFront?
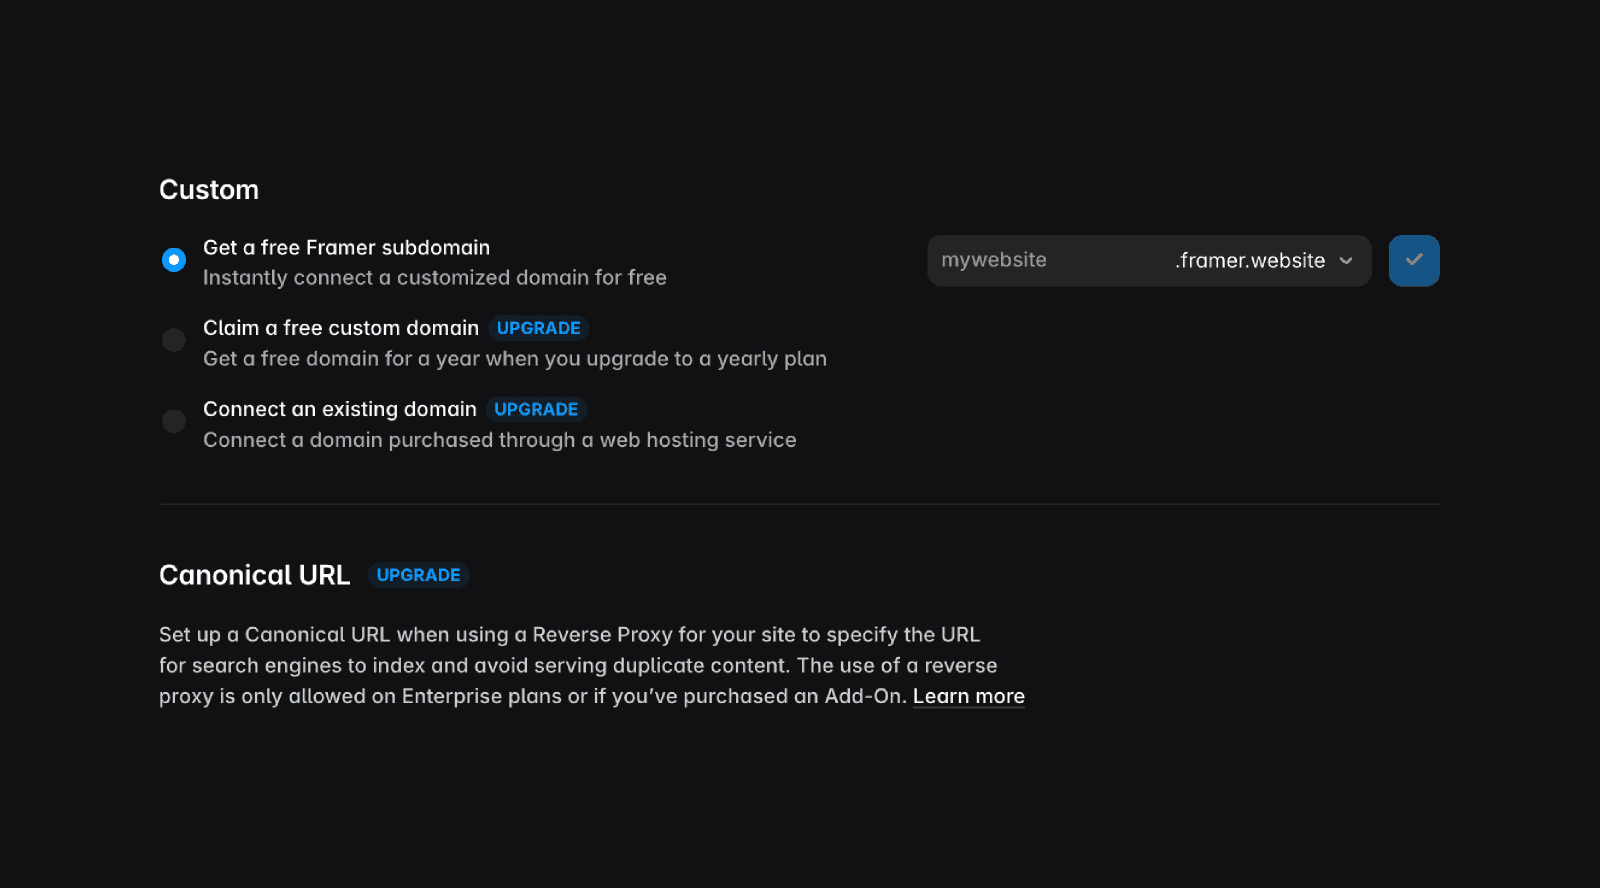
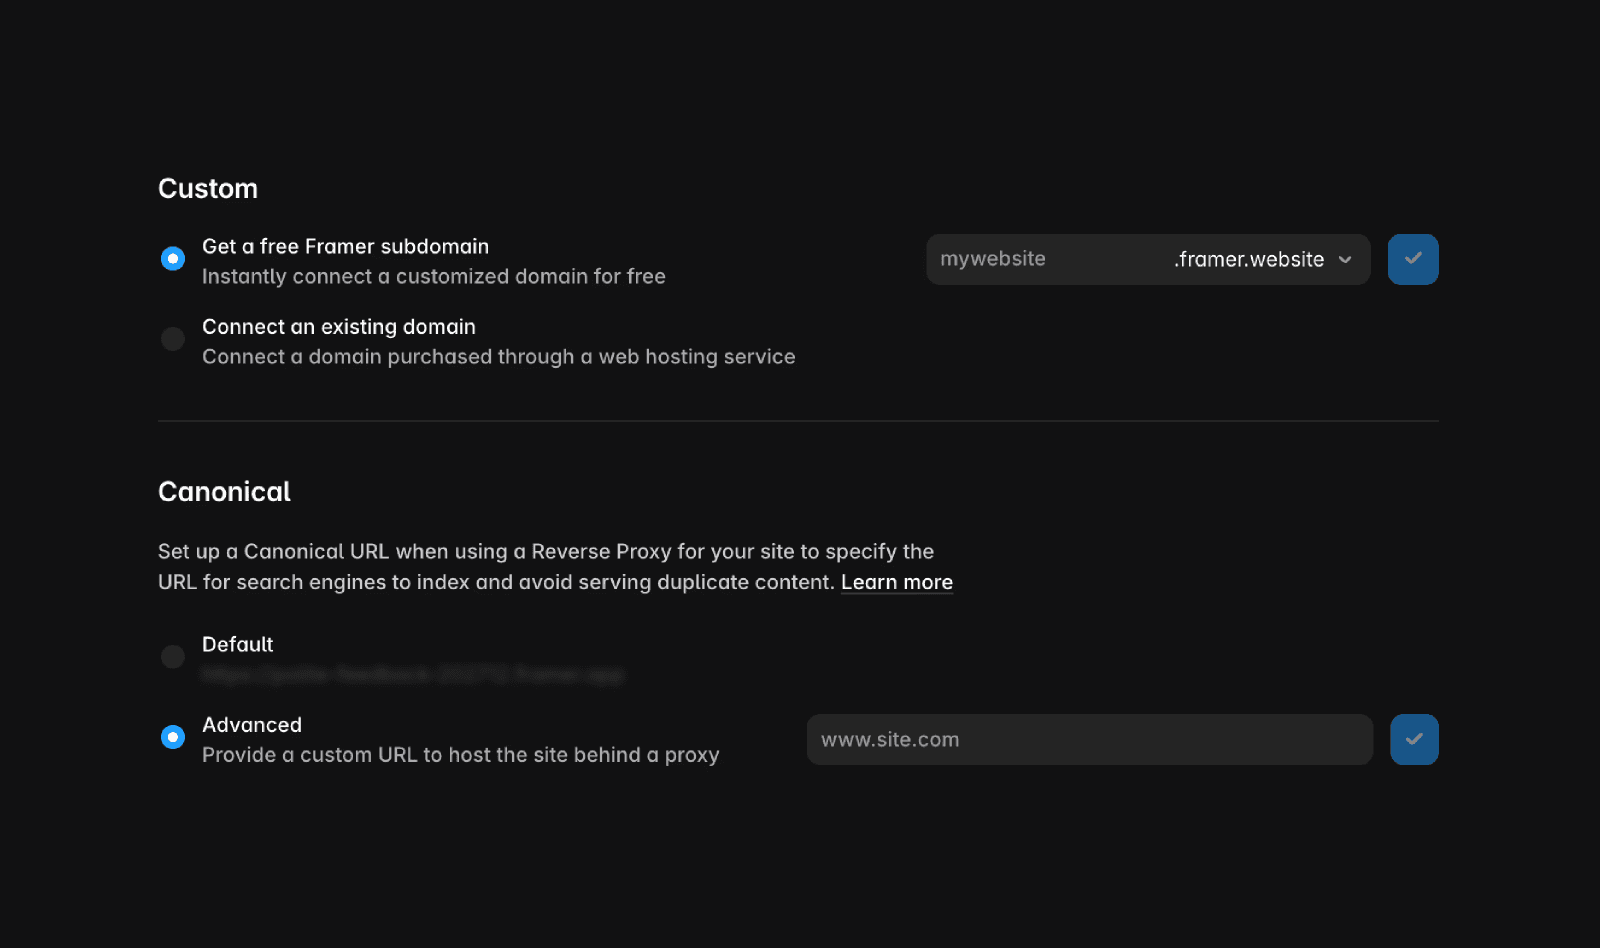
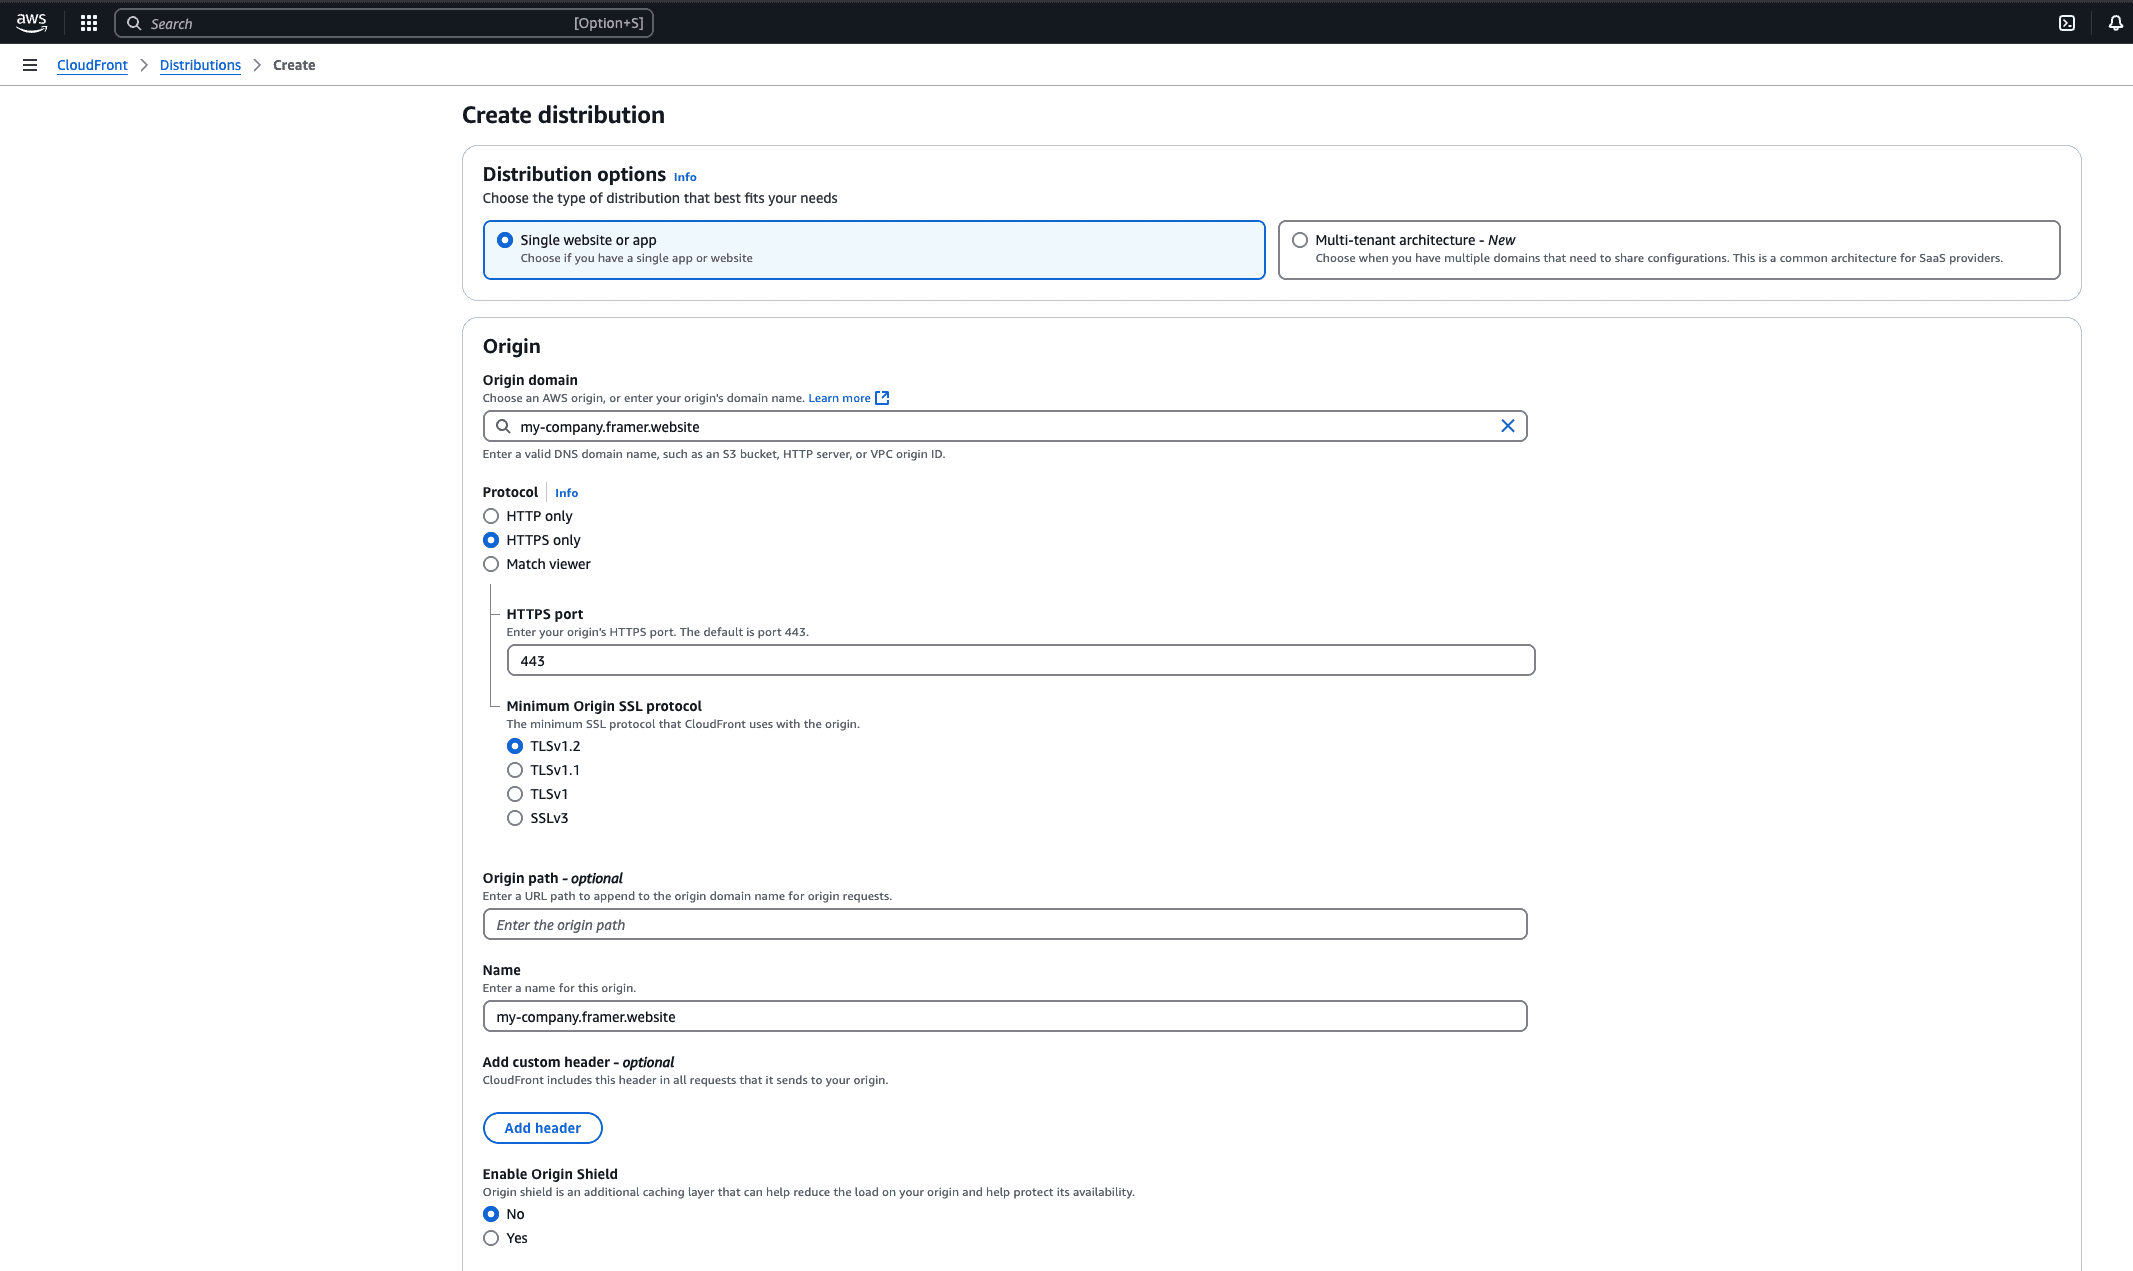
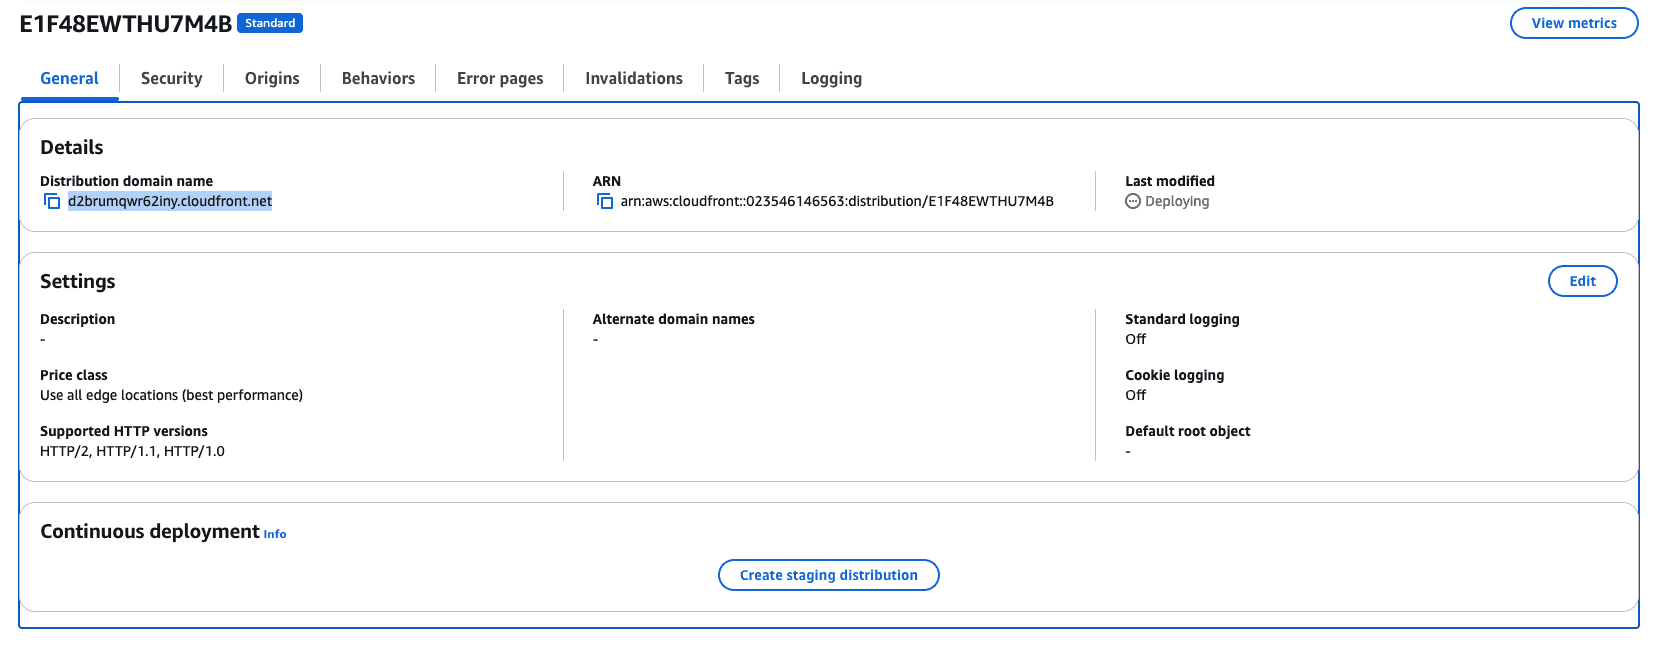
On your Framer project, go to 'Settings' -> 'Domains'. Add a free Framer subdomain to your site (e.g. my-company.framer.website). Next, set up your canonical URL by selecting 'Advanced' in the canonical URL option, inserting your custom domain (e.g. my-site.com), and publishing your website. Then, log in to the AWS Management Console, go to CloudFront, and click 'Create Distribution'. Add your Framer domain in the 'Origin Domain' field (make sure to use your custom Framer subdomain and not the base domain). Adjust the settings as needed and create the distribution. Once deployed, you can access your Framer site via the CloudFront distribution link.
What are the recommended CloudFront settings for hosting a Framer site?
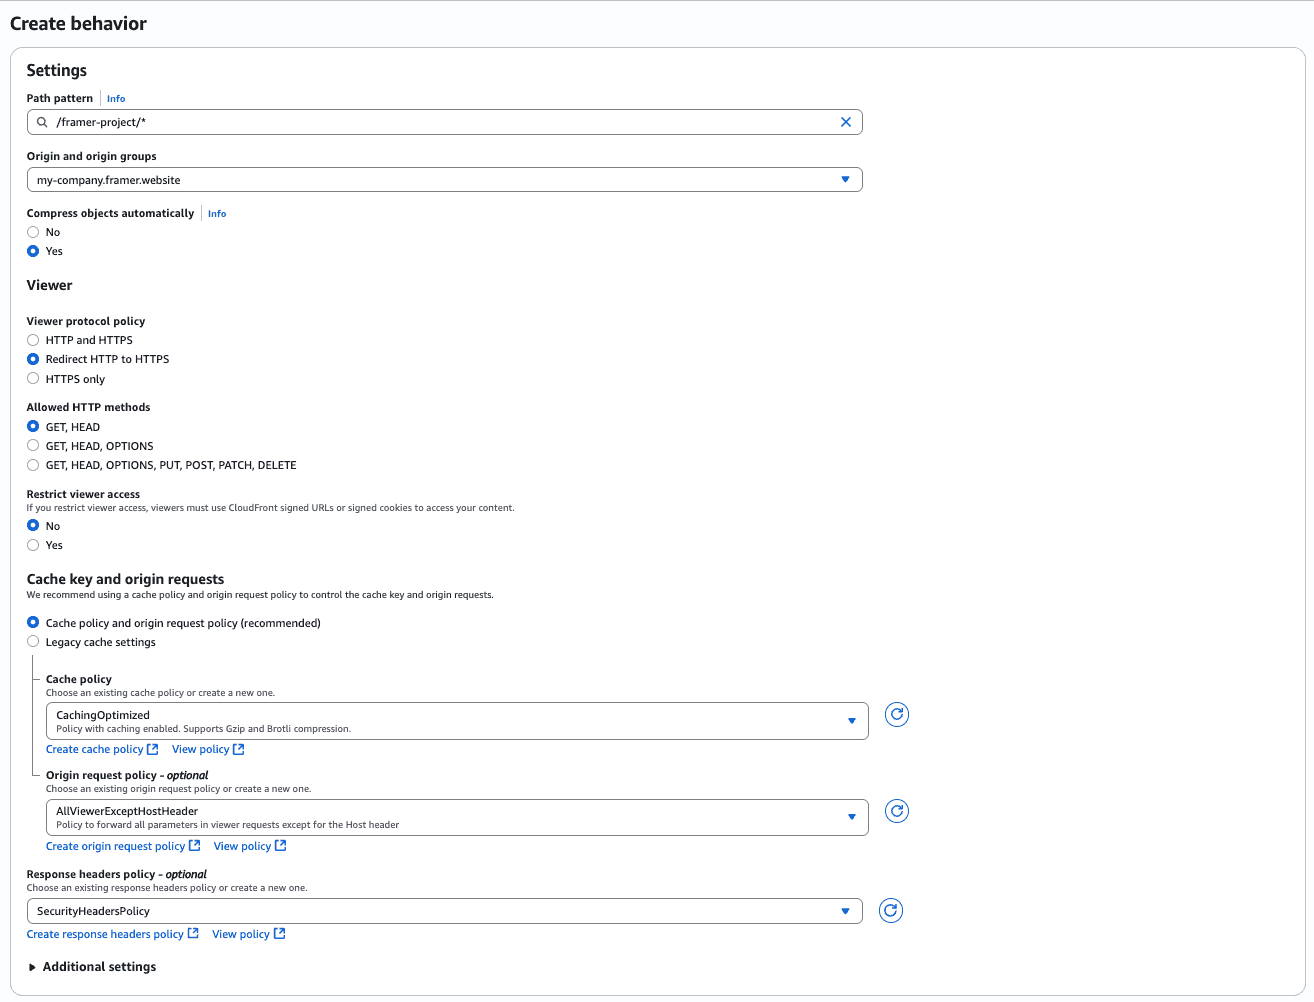
For the default cache behaviour in CloudFront, set the Viewer protocol policy to 'Redirect HTTP to HTTPS', Allowed HTTP methods to 'GET, HEAD' (or 'GET, HEAD, OPTIONS, PUT, POST, PATCH, DELETE' if your site is password-protected), Cache policy to 'CachingOptimized', Origin request policy to 'AllViewerExceptHostHeader', and Response headers policy to 'SecurityHeadersPolicy'.
How can I set up multiple origins for my Framer site using CloudFront?
Start by creating a distribution as described in the setup steps. For the main distribution (e.g. my-site.com), go to the 'Behaviors' tab and click 'Create Behavior'. Add a path pattern like '/framer-project/*' and choose the Framer project origin. Use the same settings as previously described (Viewer protocol policy, Cache policy, Response headers policy, etc). Save your changes and wait for deployment. This will allow you to have two origins under a single CloudFront distribution.
Updated